
How to Configure a WiFi Router: 17 Settings Every Owner Should Check
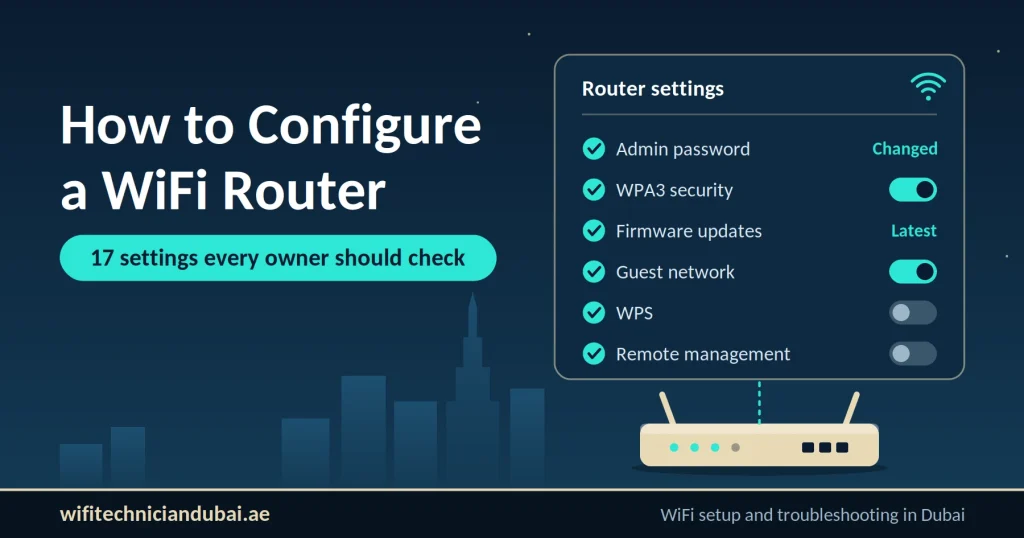
Configuring a WiFi router is easy. Open the router admin page, change the default passwords, and check a few important settings. These changes make your network safer and your WiFi more reliable.
Most people connect the router, enter the WiFi password, and never look at the settings again. But default settings are not always the best for security, coverage, or speed.
This guide shows you how to configure a WiFi router step by step. You do not need any technical knowledge. If a setting has a different name on your router, check the manual.
What Should You Do Before Configuring a WiFi Router?
Complete these three things before you open the settings page.
1. Place the router in a good location
Put the router in an open area at table height or higher. Keep it away from thick walls, metal cabinets, and microwaves. A better location can improve your WiFi coverage without changing any settings.
2. Connect the cables correctly
Connect the cable from your modem, ONT, or internet provider to the WAN or Internet port on the router. This port is often a different color from the LAN ports. If your router has a built-in modem, follow the manufacturer’s instructions.
3. Keep your internet details ready
Some internet service providers (ISPs) need a username and password for a PPPoE connection. Others set up the connection automatically. If you are not sure which one you have, check your setup documents or ask your provider.
How to Configure a WiFi Router Step by Step?
Follow these 17 steps to set up your router. You do not need to change every advanced setting. Start with security, then fix performance problems only if you have them.
Step 1. Open the Router Admin Page
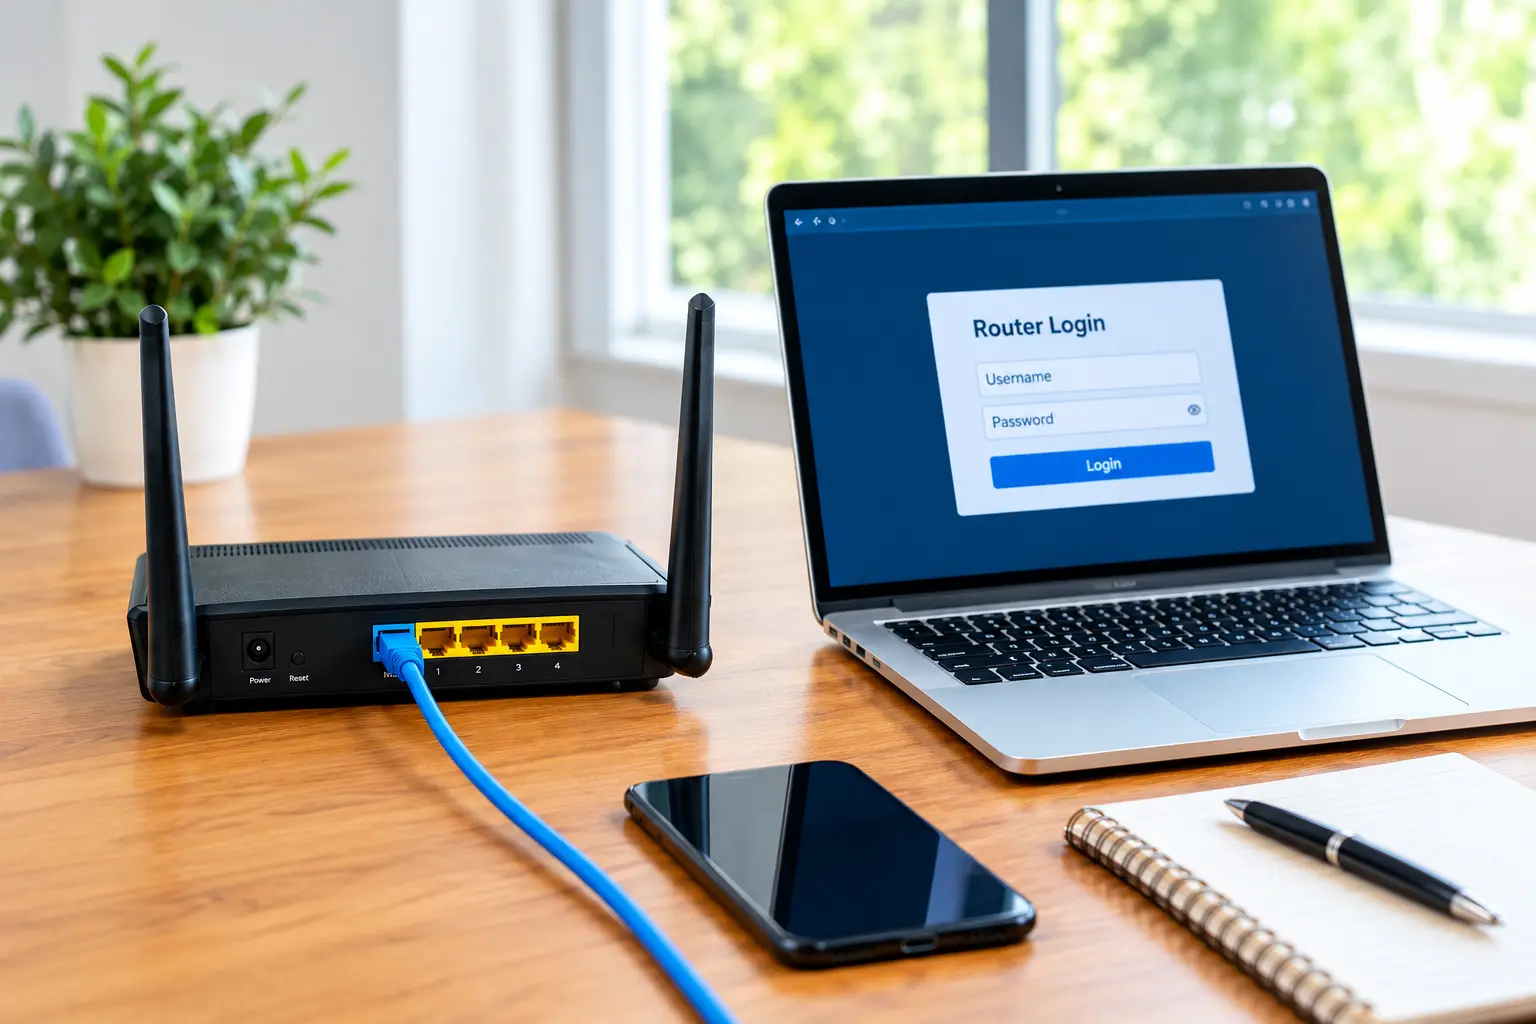
Connect your phone or laptop to the router with WiFi or an Ethernet cable. Open a web browser and type the router address in the address bar. Common addresses are:
192.168.0.1
192.168.1.1192.168.10.1
Your router may use a different address. Check the label under the device or look in the manual. Then enter the admin username and password.
If none of these addresses work, find the Default Gateway in your device’s network settings. This is usually the router address.
Only enter your login details on the local admin page or in the official app of the router manufacturer.
Step 2. Change the Admin Password
Changing the admin password is one of the most important steps. Your router has two different passwords:
- Admin password: lets you change the router settings.
- WiFi password: lets devices connect to your network.
If you leave the admin password at its default value, it is easier for someone on your network to change your settings.
Choose a strong and unique admin password. Do not use the same password as your WiFi. A password manager can help you create and store it.
Keep the new password in a safe place. If you lose it, you may need a factory reset, and a reset erases your custom settings.
Step 3. Set Up Your Internet Connection
Open the Internet, WAN, or Quick Setup section. Select the connection type that your ISP gave you.
- Dynamic IP (DHCP): the router gets its settings automatically. This is common in many homes.
- PPPoE: enter the username and password from your ISP.
- Static IP: enter the fixed IP address and other details from your ISP.
Do not choose a connection type because it sounds faster. The right option depends on your provider.
Save the settings and open the router status page. It should show that the router is connected. Then open a few websites to test it. If the connection fails, check the cables and your account details, or contact your ISP.
Step 4. Set Your WiFi Name and Password
Open the Wireless or WiFi Settings menu. Check these three settings.
Network name (SSID)
Choose a name that does not show your full name or home address. For example, HomeNet is better than Ahmed_Villa12.
Security type
Choose WPA3-Personal if your router and devices support it. If not, use WPA2-Personal with AES encryption. Do not use WEP, open networks, or WPA with TKIP.
WiFi password
Use a long and unique password. A passphrase made of several unrelated words works well. For example, Blue-Table-Rain-Seven-Cup is easy to remember and hard to guess. Do not reuse passwords from your email or social media accounts.
Save the settings. You may need to reconnect your devices with the new password.
Step 5. Understand 2.4 GHz and 5 GHz WiFi
Most routers support two WiFi bands: 2.4 GHz and 5 GHz. Some newer models also support 6 GHz. Each band has its own strengths.
| 2.4 GHz | 5 GHz |
|---|---|
| Better range | Higher speeds |
| Passes through walls more easily | Loses signal faster through walls |
| More interference from other devices | Less interference |
| Good for devices far from the router | Good for devices near the router |
A simple rule works for most homes. Use 5 GHz for devices near the router and 2.4 GHz for devices that need more range.
Many routers can combine both bands under one name. This feature is called Smart Connect or band steering. It helps devices switch between bands automatically.
If one device keeps disconnecting, give each band its own name for a while. Then connect the device to each band and see which one works better.
Step 6. Choose the Right WiFi Channel
WiFi channels are like lanes on a road. If nearby networks use the same channel, they interfere with each other and your WiFi gets slower.
Most routers pick a channel automatically. This works well in many homes. Change it only if your connection is unstable.
For 2.4 GHz: channels 1, 6, and 11 are the common choices because they do not overlap when you use a 20 MHz channel width. Choose the least busy one.
For 5 GHz: there are more channels. Keep it on Auto unless you have a reason to change it.
Some 5 GHz channels use Dynamic Frequency Selection (DFS). These channels may not be available all the time, and some devices do not support them.
A WiFi analyzer app or the diagnostic tool in your router can show you the best channel. Change one setting at a time and test the connection after each change.
Step 7. Check the WiFi Channel Width
Channel width decides how much wireless space your router uses. A wider channel can give higher speeds, but it is also more affected by interference.
- 2.4 GHz: Start with 20 MHz. It works best in crowded areas like apartment buildings.
- 5 GHz: 80 MHz can give high speeds when there is enough clean space. If the connection is unstable, try 40 MHz.
You can usually find this setting under Advanced Wireless Settings. If you are not sure, keep the default setting and change it only when you are fixing a specific problem.
Step 8. Turn Off WPS if You Do Not Need It
WiFi Protected Setup (WPS) lets a device connect to your network without typing the WiFi password. Some routers have a WPS button, and some use a PIN.
WPS is convenient, but it can create security risks, mainly when the PIN method is on. Once your devices are connected, turn it off. You can usually find it in the wireless or security settings.
If you need to add a new device later, just enter the WiFi password manually.
Step 9. Update Your Router Firmware
Firmware is the software that runs your router. Manufacturers release updates to fix security problems and bugs. An old router may still have problems that a newer update already fixed.
Follow these steps to check for updates:
- Open the router admin page or the official app.
- Find Firmware Update, System Update, or System Tools.
- Check if a new version is available.
- Install it by following the manufacturer’s instructions.
Some routers update automatically. Others need you to download a file from the manufacturer’s website. Keep these points in mind:
- Use firmware made for your exact router model and hardware version.
- Do not turn off the router during the update.
- Do not download firmware from unknown websites.
If your ISP manages your router, ask them if they handle the updates.
Step 10. Set Up a Guest WiFi Network
If visitors often use your internet, create a guest network. This way, you do not need to share your main WiFi password. It also helps keep visitors away from your laptops, printers, and network storage.
- Open the WiFi settings of your router.
- Find Guest Network.
- Turn it on and choose a separate network name.
- Set a strong password.
- Turn on guest isolation if your router has it.
Some routers call this AP Isolation or Client Isolation. A guest network is not always separated from your main network by default. Check your router manual to confirm that guests cannot reach your main devices.
If your router supports it, you can also create a separate network for smart plugs, cameras, and other smart devices. Check compatibility first, because some smart home devices need to talk to your phone on the main network.
Step 11. Reserve IP Addresses for Important Devices
Your router gives each device a local IP address using DHCP. These addresses can change over time. This is fine for phones and laptops. But printers, CCTV systems, and network storage are easier to manage when they always get the same address.
You can do this with a DHCP Reservation.
- Open the DHCP, LAN, or connected devices settings.
- Find the device you want.
- Select Reserve IP or Address Reservation.
- Choose a local IP address within your router’s range.
- Save the settings and reconnect the device if needed.
Do not use an address that another device already uses. You do not need to do this for every device.
Step 12. Change DNS Settings (Optional)
DNS translates website names into IP addresses. Your ISP gives you DNS servers by default. You can use another provider if you want to test whether websites load faster.
Cloudflare
- Preferred DNS:
1.1.1.1
- Alternate DNS:
1.0.0.1
Google Public DNS
- Preferred DNS:
8.8.8.8
- Alternate DNS:
8.8.4.4
You can usually find these fields in the Internet, WAN, or DHCP settings. Save the changes and open a few websites to test them.
Changing DNS does not make your whole internet faster. The difference can be small. If you notice problems, go back to your old DNS settings.
You can read more in Cloudflare’s guide to DNS and internet performance.
Step 13. Configure QoS Carefully
Quality of Service (QoS) lets your router give priority to certain devices or activities, such as video calls, gaming, or work apps. It can help when many people share the same internet connection.
But you do not need QoS in every home. Wrong settings can make your WiFi slower. If you want to try it:
- Run a speed test under normal conditions.
- Open the QoS or traffic priority settings.
- Enter your connection speed as your router manufacturer recommends.
- Give priority only to the devices or activities that need it.
- Test the connection again.
Compare the speed with QoS on and off. Keep it only if it improves your daily experience.
Step 14. Review These Optional Router Settings
Some router features are convenient but can create security risks when you do not need them.
Remote management
This lets you open the router settings from outside your home network. Turn it off if you do not need it.
UPnP
Universal Plug and Play lets apps and devices open ports on your router automatically. It can help with gaming, but it can also increase security risks. Turn it off if your devices work fine without it.
Firewall
Keep the built-in firewall on, unless your ISP gives you different instructions.
Do not turn off a security setting only because you do not understand it. For more tips, read the Federal Trade Commission’s guide to securing your home WiFi network.
Step 15. Check the Region and Time Zone
Two small settings are easy to miss.
Region or country
Choose the correct country for your location. WiFi rules are different in each country, including the allowed channels and signal power. Do not change the region to get extra channels or more power.
Time zone
Set the correct time zone. It makes the router logs easier to read and helps schedules like parental controls and WiFi timers work correctly. Some routers set the time automatically, so just check that it is right.
Step 16. Save a Backup of Your Router Settings
When you finish, open Backup, Restore, or Save Configuration in the system settings. If your router has this option, download a copy of your settings and keep it somewhere safe.
A backup saves time if you ever need to reset the router. Keep these points in mind:
- Keep the file private because it can contain sensitive network details.
- A backup from one router model may not work on another.
- Keep your ISP connection details nearby in case you need to reconnect after a reset.
Step 17. Test Your WiFi Speed Correctly
Signal bars do not show the full picture. Test your speed in more than one place.
Test 1: Near the router
Stand close to the router and connect to the 5 GHz network if you have it. Run a speed test.
Test 2: In your usual room
Repeat the test in the room where you use the internet the most. Use the same device and the same testing service so the results are fair.
Test 3: Compare the results
Compare both results with your internet plan. Then use this list to understand the problem:
- Good speed near the router, poor speed in other rooms: walls or interference may be the cause. A better router position, a mesh system, or an extra access point can help.
- Poor speed near the router: try another device, check the cables, and restart the modem and router. If possible, test with an Ethernet cable.
- WiFi keeps disconnecting: check the firmware, interference, and whether the router is overheating.
- Slow speed on all devices, including wired ones: contact your ISP.
If you cannot find the cause, a WiFi site survey can show coverage gaps and the best place for your router or access points.
Can You Configure a WiFi Router Without Technical Knowledge?
Yes. Most routers have a setup wizard or an official app that guides you through the basic steps. You only need the router, your ISP details, and a few minutes. The steps in this guide use simple language, so you can follow them one by one.
Can You Configure a WiFi Router From a Phone?
Yes. Many routers have an official app for iPhone and Android. You can use it to set the WiFi name and password, update the firmware, and create a guest network. If your router does not have an app, connect your phone to its WiFi and open the admin page in a mobile browser.
Which Router Settings Should You Change First?
Start with these four:
- Change the default admin password.
- Turn on WPA3 or WPA2-AES security.
- Set a strong WiFi password.
- Install the latest firmware.
Then turn off WPS and remote management if you do not need them. Everything else can wait until you have a specific problem.
Common WiFi Router Problems and Quick Fixes
Here are the most common problems and what to do about them.
1. WiFi is connected, but there is no internet
Restart the modem or ONT and the router. Check the WAN cable and the router status page. If it is still offline, contact your ISP.
2. WiFi gets slow in the evening
This can happen because of ISP traffic, more people at home, or interference from nearby networks. Test your speed at different times, and compare wired and wireless results before you change the channel.
3. Devices keep disconnecting
Check for firmware updates and make sure the router is not too hot. Test the device near the router. If band steering causes the problem, give each band its own name.
4. You cannot open the router admin page
Make sure your device is on the router’s network. Check the gateway address, try another browser, and look at the router label.
5. You forgot the WiFi password
If you can open the admin page, you can usually view or change the WiFi password there. If you forgot the admin password, check the manufacturer’s recovery instructions. A factory reset may be needed, and it erases your settings.
6. The signal is weak in one room
Move the router to a more central and open place. If the signal is still weak, use a mesh system or an extra access point.
Bottom Line
Configuring a WiFi router is simple when you follow the steps. Start with a strong admin password, modern WiFi security, and the latest firmware. Change the channel, channel width, and other advanced settings only when you have a problem.
If your WiFi is still slow or unreliable after these checks, the cause may be coverage, interference, cables, router hardware, or your internet provider.
Need help finding coverage gaps or improving your WiFi? Visit our WiFi technician services in Dubai.